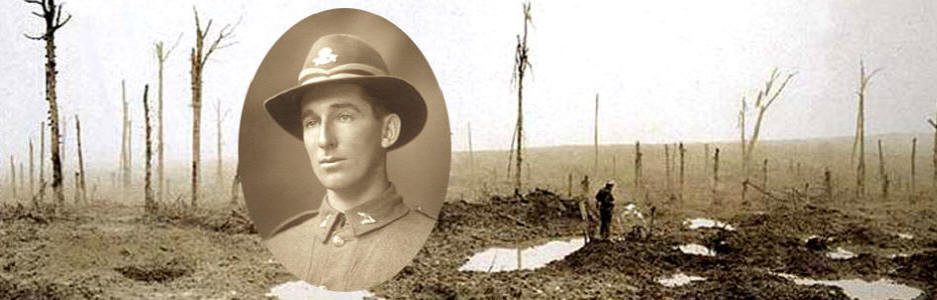
The Battle of Broodseinde
By late September 1917 all hope of the decisive breakthrough for which
Haig had optimistically hoped had gone. The final objective to be
seized in his Flanders Offensive before the winter set in was the
heights of the ridge overlooking Ypres. The highest point of this
ridge contained the ruined village of Passchendaele. Haig ordered
Plumer and Gough to prepare a plan for the seizure of this ridge,
using the now familiar approach of “bite and hold”. Haig proposed
to use two armies for this final assault – the Fifth Army in the
northern part of the Salient commanded by Gough and the Second Army
in the southern part commanded by Plumer. The spearhead of Plumer's
attack would be the two Anzac Corps, fighting side by side for the
first time – I Anzac was commanded by General W.R. Birdwood, II
Anzac by General Sir Alexander Godley. The New Zealand Division
was part of Godley's II Anzac Corps.
The 23,000-man New
Zealand Division marched to the Ypres area on 24 September 1917.
It took six days, moving at a rate of 20 miles per day. They moved
through the ruined town of Ypres and into the Salient to the area
in which they would assemble for the assault. A number of spurs
ran down from the Passchendaele Ridge. The New Zealanders were tasked
to seize two of these spurs – the lower Gravenstafel Spur and the
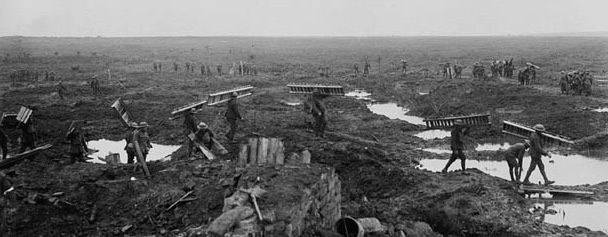
larger Bellevue Spur. Facing them was a quagmire, as incessant shelling
had destroyed the stream beds that drained the ridge. Ruined farms
had been replaced by pillboxes supported by tangled scrolls of barbed
wire. The initial objective of the attack on Broodseinde, the section
of the ridge opposite Ypres, was the seizure of the first low ridge
in front of Passchendaele. This first “bite” would then be held,
while the second “bite” would be the heights of Passchendaele itself.
Passchendaele - Late 1917
The initial assaulting forces – 1st Auckland and 1st Wellington
battalions from the 1st Brigade and 3rd Otago and 3rd Auckland battalions
from the 4th Brigade – were in position by the evening of 2 October
and received a thorough briefing from their commanders about their
role. This initial assault group would seize the area up to a designated
Red Line. They would then be leapfrogged by a second group consisting
of 2nd Wellington and 2nd Auckland battalions from the 1st Brigade
and 3rd Canterbury and Wellington battalions from the 4th Brigade,
who were to capture the area up to the Blue Line. On the evening
of 3 October, the weather changed, bringing gale-force winds and
rain. The assault troops huddled uncomfortably in their assembly
trenches and tried to sleep through this bleak night.
At
6.00 a.m. on 4 October, the British artillery barrage opened up
across the whole of the front. The infantry “hopped the bags” and
moved onto attack, and for the first 200 yards, the advance was
easy. Little resistance was experienced as a result of the artillery
barrage. As they progressed, however, the New Zealand brigades ran
straight into an intense German machine gun barrage. Using the now-familiar
“fire and manoeuvre” tactics, sections laid down suppressing fire
on pillboxes and strongholds while other men moved forward with
grenades to clear the obstacles. Both battalions reached the Red
Line on timetable, dug in and waited to be leapfrogged by the succeeding
battalions while the artillery barrage continued. The Canterbury
battalion advanced over the Abraham Heights, continuing to suffer
heavy casualties from the intense machine gun fire from German defences
further up the ridge. However, they pressed on and by 11.00 a.m.,
on schedule, the Blue Line had been reached and secured, and mopping
up of all remaining centres of resistance had ceased.
German
counter-attacks continued throughout the morning and early afternoon,
but the troops, having reached the Blue Line, dug in and with the
assistance of the continuing artillery and machine gun barrage,
resisted all attempts to remove them from this hard-won advance.
The Germans made three further attempts at dislodging the New Zealanders
from their new front line, but each counter-attack faltered before
withering machine gun fire and accurate artillery support.
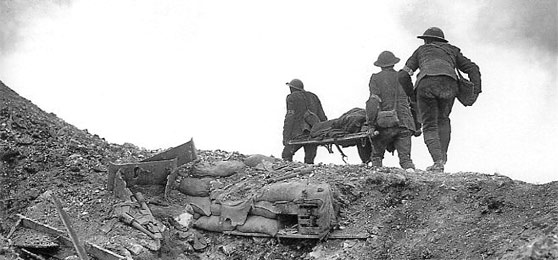
The Division held its position while the stretcher bearers began
their exhaustingly grim task of locating and evacuating wounded
men to regimental aid posts and casualty clearing stations. The
following evening, the New Zealanders were relieved by the British
49th Division and they retired back into the Salient to await their
generals' next move.
From the perspective of the New Zealand
Division, Broodseinde was a stunning victory. They had suffered
1853 casualties – one in four of the assaulting force, with 330
killed and 200 missing. They had advanced the line by nearly 2000
yards, taken over 1100 prisoners and killed a considerable number
of the enemy – estimated at 800 in 1 Brigade's sector alone. Gravenstafel
Spur, now in British hands, provided a good observation point for
a further advance on Passchendaele Ridge.
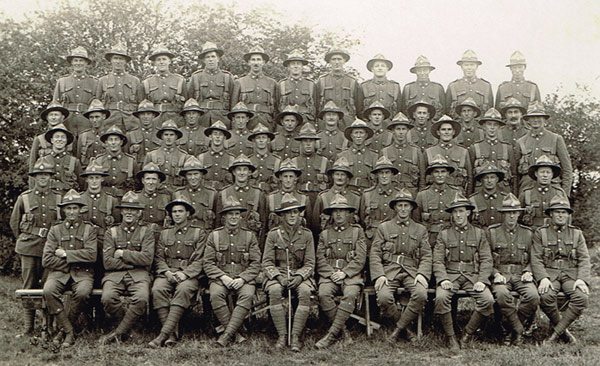
The boys of 13th Company